
Last updated November 15, 2026
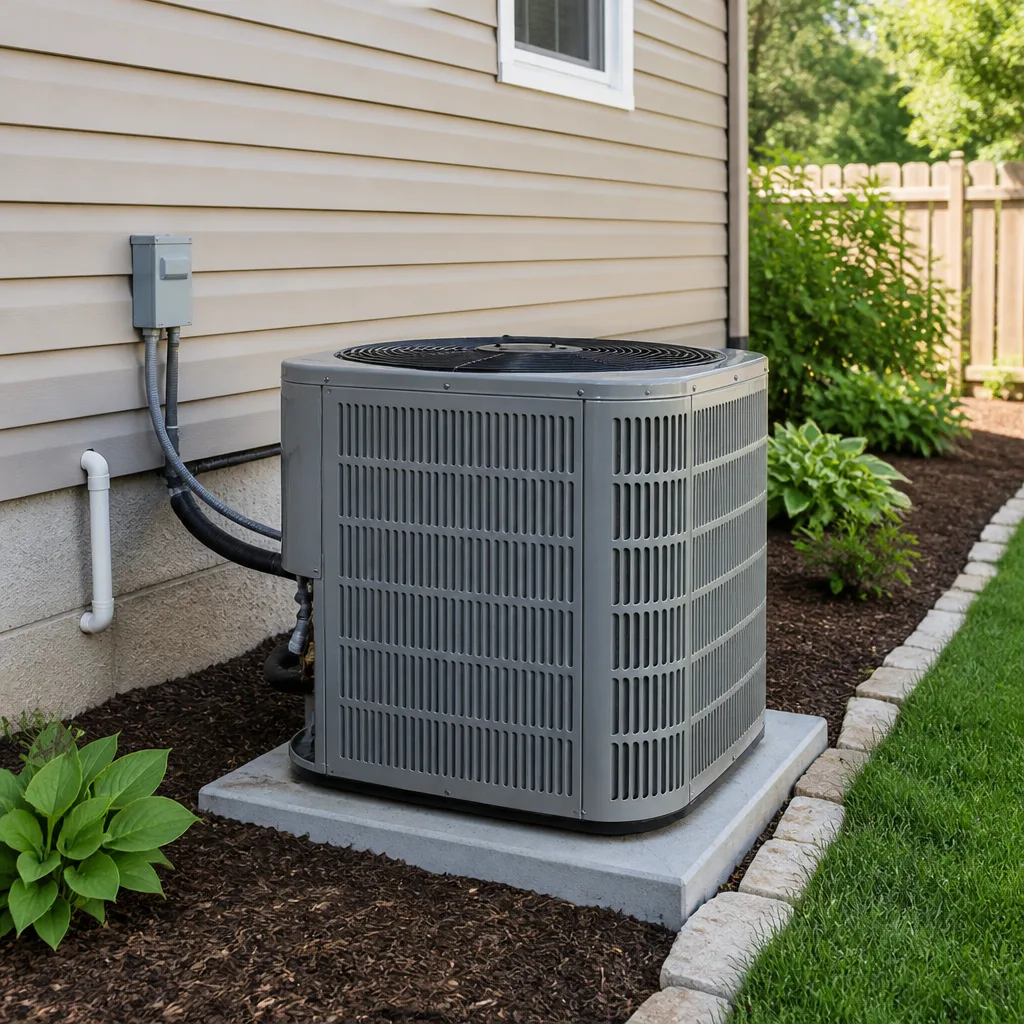 AC repair
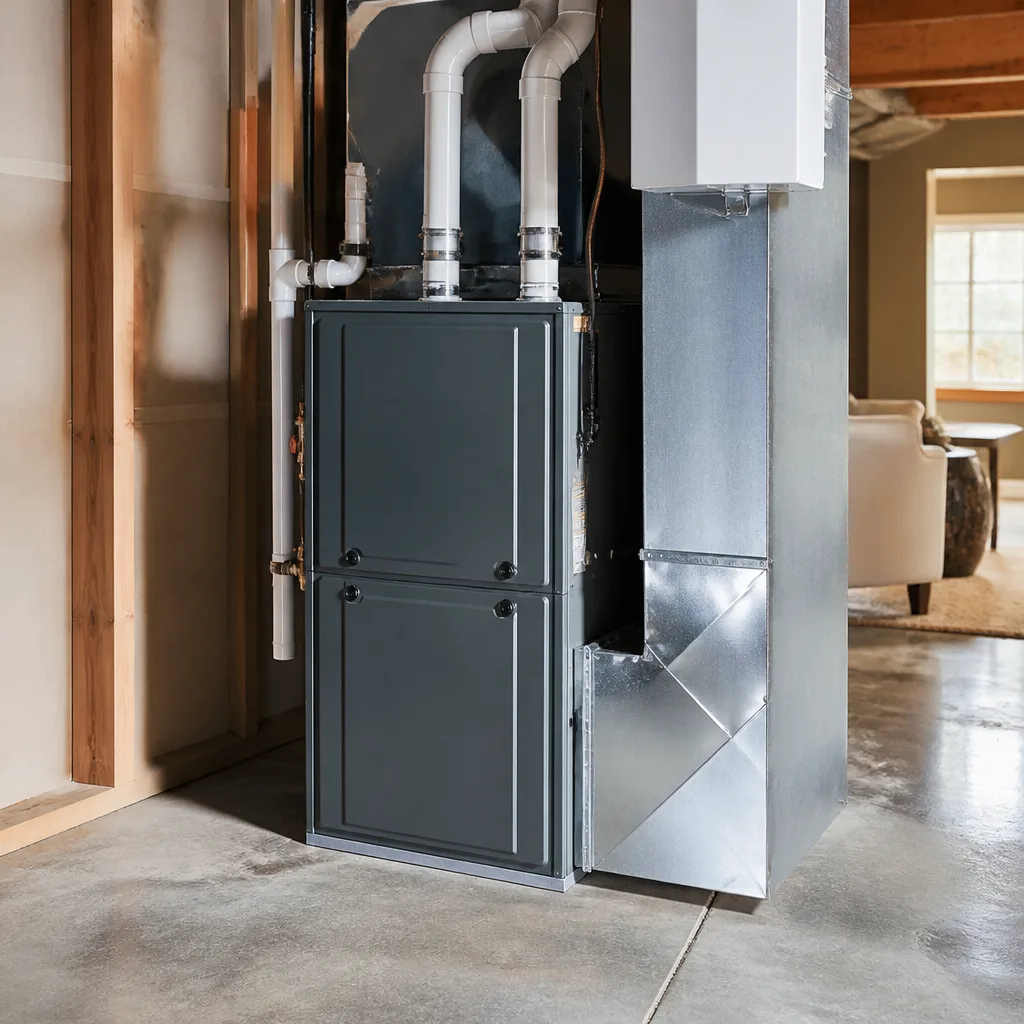 Furnace & heating
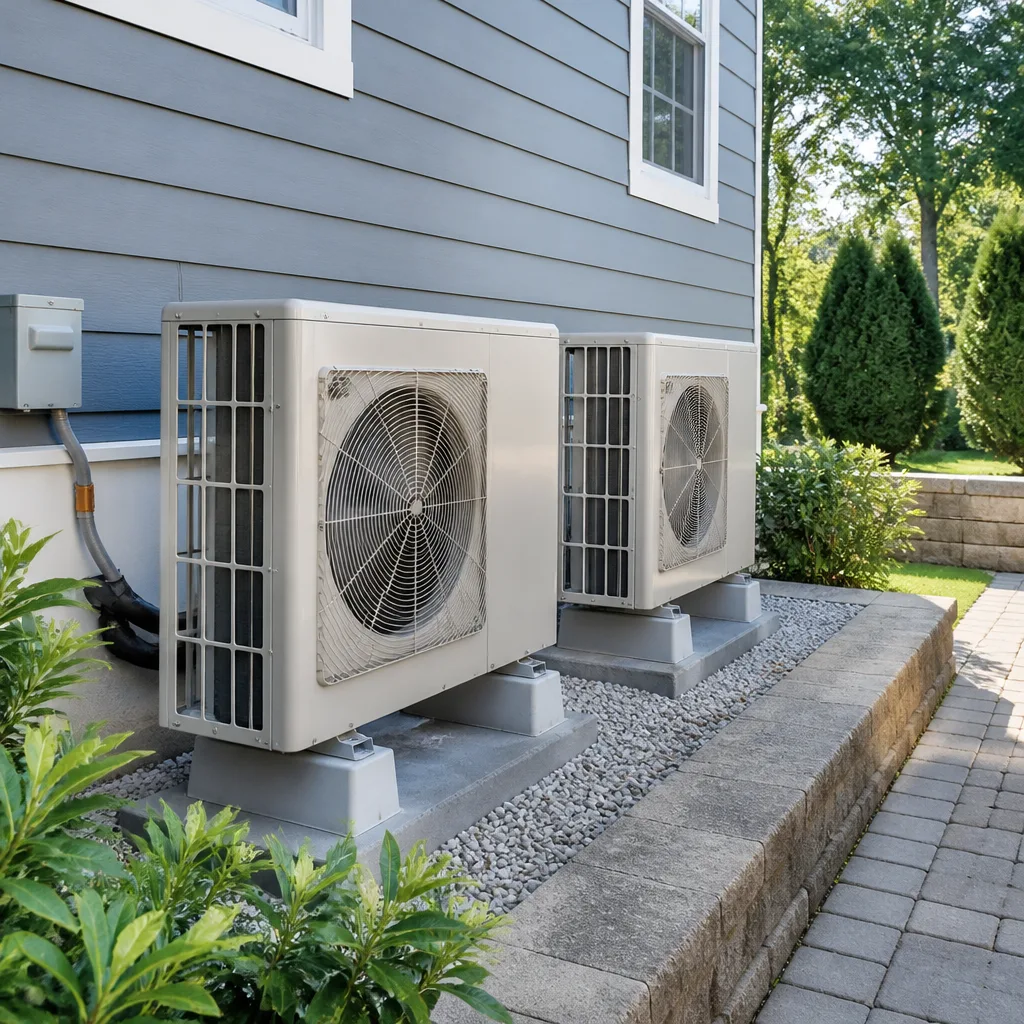 Heat pumps
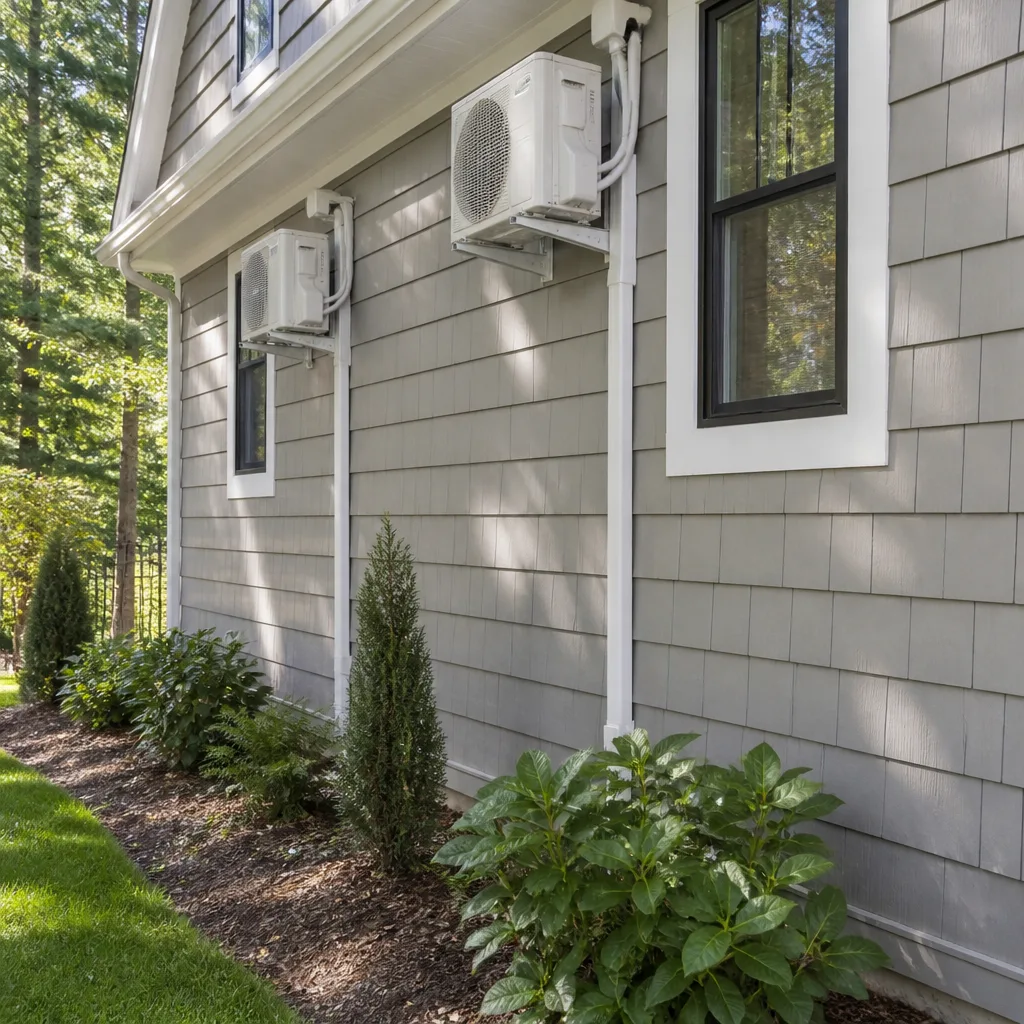 Ductless mini splits
 Carrier
 Trane
 Goodman
Seasonal tune-up and full diagnostic on your Carrier, Trane, or Goodman system - readings shown to you before any repair is proposed
Diagnosis first, numbers second - you approve the repair price before a single part goes in.
Get your free estimateAC Installation Maintenance Checklist for Coral Springs Homeowners
You’d expect a new air conditioner to fix everything. In Coral Springs it often doesn’t, and the equipment is rarely the reason. Most early underperformance traces back to a handful of steps that never happened in the first 48 hours after the unit went in: the charge was left at the factory default, the drain was run with a lazy slope, nobody balanced the airflow room to room. The new compressor is fine. The installation was incomplete. What follows is the checklist we work from, ordered by which of these failures shows up first and costs the most to unwind. You’ll learn how a Coral Springs install should be verified, what you can check yourself, and how to keep a new system running and its warranty intact.
Quick Answer
A proper AC installation checklist in Coral Springs covers five things before the truck leaves: refrigerant charge verified against the manufacturer’s target at real outside temperatures (not a factory default), a condensate drain with correct slope plus a secondary pan, airflow balanced across every room after the ductwork is connected, written documentation of model and serial numbers with photos, and a homeowner schedule of checks at 30 days, 6 months, and 12 months. Skipping any of the first three is what leads to the earliest, most expensive callbacks.
Styles & brands we work with
- AC repair
- Furnace & heating
- Heat pumps
- Ductless mini splits
- Carrier
- Trane
- Goodman
Table of Contents
- 1. Refrigerant Charge Verification at Coral Springs Temperatures
- 2. Condensate Drain and Secondary Pan Requirements
- 3. Airflow Balancing Across Every Room
- 4. The 30-Day, 6-Month, and 12-Month Owner Tasks
- 5. How to Document the Install for Future Technicians
- Common Mistakes to Avoid
- When to Call a Professional
- Frequently Asked Questions
1. Refrigerant Charge Verification at Coral Springs Temperatures
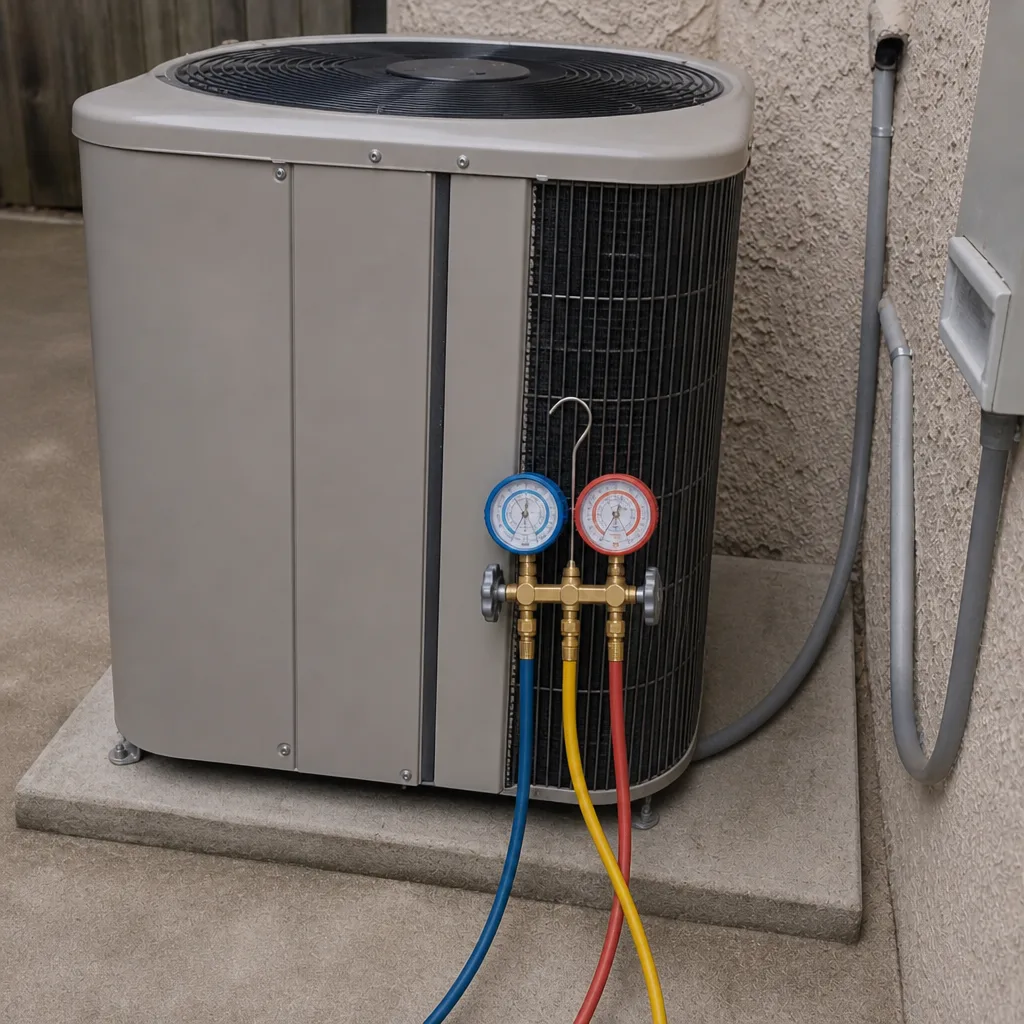
This is the step that gets skipped most and costs the most. Refrigerant charge is the amount of refrigerant in the system, and it’s supposed to match the manufacturer’s target for that specific equipment. If a technician leaves the system at the factory default or “charges by feel,” the unit runs undercharged or overcharged. Both drag down efficiency, and both wear the compressor harder than it should be worn. In Coral Springs, where the cooling season runs most of the year, that inefficiency compounds faster than it does in a milder climate.
Why is this step routinely skipped? Because verifying it properly takes time. A technician has to let the system run long enough to stabilize, then measure pressures and temperatures and compare them to the manufacturer’s charging chart for the actual outdoor conditions. On a 92-degree afternoon, the target looks different than it does at 75 degrees. A shortcut that ignores local temperatures can look fine on a gauge and still leave the system running wrong.
What correct charge verification involves:
- Letting the system run until pressures have stabilized, not checking the minute it starts.
- Measuring wet-bulb and dry-bulb temperatures indoors and outdoor ambient temperature.
- Comparing the readings to the manufacturer’s target for that equipment, not a generic baseline.
- Confirming subcooling (and superheat on a fixed-orifice system) falls in the manufacturer’s range.
- Recording the readings on the install paperwork so anyone can compare them next year.
What a wrong charge costs you: higher electric bills, a compressor that works harder than it should, and a system that never quite keeps up in July. It’s a slow drain, not an outage, so homeowners don’t notice until the bill arrives or the unit starts short-cycling. If you want the full scope of what a complete install includes, our page on AC installation covers the process end to end. The point here is simpler: ask for the charge readings in writing. A system from Rheem, Daikin, or any of the nine major brands we work on has a specific target, and the number should be on your paperwork.
2. Condensate Drain and Secondary Pan Requirements
Your air conditioner pulls moisture out of the air all day. In Coral Springs, that’s a lot of water, and June through September turns it into a steady stream. The condensate drain moves that water out of the house. When its slope is too shallow or wrong, water pools in the pan, backs up, and eventually overflows. Left long enough, that means ceiling stains, soaked insulation, and in the worst case, water in the walls.
The secondary drain pan is the backup. It sits under the unit to catch overflow if the primary drain clogs, and it’s what Florida building code expects so that a stopped drain doesn’t become a wet-ceiling call. Most cities require a permit and inspection for a system replacement, and the pan and drain are part of what gets inspected. If a contractor tells you the pan can wait, that’s worth questioning.
What a properly run drain looks like:
- Continuous slope from the unit to the exit, with no low spots where water can sit.
- No sagging in the pipe run; a support that lets the line belly will hold water.
- A trap where the manufacturer calls for one, so the drain pulls water away instead of back.
- Secondary pan sized to the unit and drained or alarmed, not just left as a catch basin.
- The line flushed and tested before the technician leaves, not after the first heavy rain.
The rainy season is the test. A drain that trickles fine in a dry spell can back up under a week of steady humidity. Ask the installer to pour water through the line and watch it run before sign-off. It takes two minutes and tells you everything about how the drain will behave in August. Keep an eye on the pan yourself for the first month, especially in a Coral Springs home with the air handler in the attic or a closet, where a slow leak stays hidden until the drywall gives.
3. Airflow Balancing Across Every Room
A new system can be perfect at the equipment and still leave one bedroom stuffy and another cold. That’s an airflow problem, and it usually lives in the ductwork, not the unit. When the new air handler pushes more air than the old one did, the existing duct layout may not be able to deliver it evenly. Some rooms get more than they need. Others get starved, and the thermostat reads fine while the back room never cools.
Airflow balancing means adjusting dampers and checking supply and return in each room after the install, with the system running, so every space gets the air it should. It’s not a one-time guess. It’s measured room by room, with the doors open and closed the way you actually live.
Signs the original duct layout is starving the new unit:
- One or two rooms that never reach the thermostat’s setting, no matter how long the system runs.
- Weak airflow at registers farthest from the air handler.
- Whistling or roaring at a supply grille: too little duct for the air being pushed through it.
- A system that cycles long and hard to satisfy the thermostat while one room stays warm.
- Uneven temperatures between floors, or between rooms on the same floor.
How we approach it: start with the return side, because a system can only move as much air as it can pull back. Then adjust supply dampers, confirm each room is within a reasonable range of the rest, and note which rooms run warmer so the homeowner knows what’s normal and what isn’t. If a duct run is genuinely undersized, we say so rather than crank the blower to mask it. That conversation belongs during install, not a year later when a room is still uncomfortable.
4. The 30-Day, 6-Month, and 12-Month Owner Tasks
A new install has a warranty behind it, and that warranty has conditions. You don’t need a paid service contract to meet them. You need to do a few simple things on a schedule and keep a record that you did. The manufacturer’s warranty generally requires that the equipment be installed to its specifications and maintained in reasonable condition; the maintenance part is yours.
The 30-day check (you can do this yourself):
- Replace or clean the air filter. Do it now, and note the size and date so you buy the right one next time.
- Look at the condensate pan under the air handler. Any standing water means call about the drain.
- Feel the airflow at each register. A room that’s noticeably weaker than the rest is worth flagging early.
- Note the indoor temperature in the warmest rooms at the hottest part of the day, so you have a baseline.
- Check the outdoor unit is clear of leaves, mulch, and anything stacked against it.
The 6-month check:
- Replace the filter again. In a Coral Springs home with pets or heavy use, filters load up faster than the box suggests.
- Clear debris from around the outdoor unit and check the fins aren’t blocked.
- Run the system and listen for new sounds: rattles, grinding, repeated clicking.
- Look at the secondary pan again, and check for any water staining near the unit.
- Write down anything you noticed so a technician can look at it with your notes in hand.
The 12-month check:
- Schedule a professional tune-up before the peak heat arrives, so problems surface early.
- Have the technician clean the coils, verify the drain, and re-check the charge against the target.
- Compare this year’s readings to last year’s install paperwork; a drift means something changed.
- Replace the filter again and update your log.
- Confirm the warranty registration is on file and that the documentation is complete.
Keep a simple folder or phone note with the dates and what you did. That log is often what makes a warranty claim go smoothly, and it makes any future service faster.
5. How to Document the Install for Future Technicians
Here’s a habit most installers don’t build in: hand the homeowner the information a future technician will need. The reason is practical. In three or five years, the person standing at your unit may not be the one who installed it. If they can’t find the model and serial number, the charge target, the settings, or a photo of how the system was configured, they spend the first part of the visit hunting instead of diagnosing. That costs you time and, in some cases, a wrong guess.
What belongs in your install record:
- Model and serial numbers for both the indoor and outdoor units, written down, not just on a sticker.
- The brand: Rheem, York, Daikin, Bryant, or whatever was installed, so the next technician knows what they’re looking at.
- Photos of the nameplate, the condenser, the air handler, the drain, and the thermostat wiring.
- The charge readings taken at install, with the temperatures they were taken at.
- Any settings changed from factory defaults, and why.
- The install date and the company that did the work.
Why this matters in Coral Springs: a system that was installed and charged at one set of conditions may need re-verification at a different time of year. Having the original readings gives the next technician a baseline. Without them, anyone starting from scratch is guessing. If you ever have the system serviced by someone new, you can hand them the folder and say, “Here’s what was done.” That’s how a service call stays efficient, and it’s why we leave that record with every install we’re part of. It’s not paperwork for its own sake; it’s the difference between a fifteen-minute diagnosis and a two-hour one.
Common Mistakes to Avoid
- Trusting a factory-default charge. It’s the most common shortcut, and it quietly costs you efficiency all summer. Ask for the charge reading in writing.
- Running a lazy condensate drain. A shallow slope looks fine until the rainy season and a wet ceiling. Have the drain tested before sign-off.
- Skipping the airflow balance. A new unit that starves one room means the duct layout wasn’t checked. Settle it during install, not a year later.
- Not registering the warranty. Registration deadlines differ, and a lapsed registration can complicate a claim. Do it the week the install is finished.
- Buying the wrong filter size, repeatedly. Write down the size once and stick to it. A filter that doesn’t seal properly lets dust past it.
- Throwing out the paperwork. Model and serial numbers, photos, and readings are what a future technician needs. Keep the folder.
- Assuming a bigger unit is better. An oversized system cools fast and leaves the house damp. The right size comes from a load calculation, not a guess.
When to Call a Professional
Some checklist items you can handle: filters, visual checks, clearing debris, keeping the log. Others need a technician with gauges, a charging chart, and time on site. Call a professional if your system won’t hold temperature in the warmest rooms, if you see water in or near the pan, if airflow is weak in one area and strong in another, if you hear grinding or repeated clicking, or if you simply don’t have the install readings and want them verified. Refrigerant work and electrical components are not DIY territory; the refrigerant is handled under specific rules, and the electrical side can be genuinely dangerous. If a system is brand new and something already feels off, don’t wait out the warranty period to find out why.
Clover AC Repair offers free estimates in Coral Springs. We work on your brand, whatever it is, and we’ll tell you whether a problem is a quick fix or something more. Call (833) 501-2993 to set it up. We answer 24/7. Fast dispatch from 7am to 7pm, Sunday through Friday.
Frequently Asked Questions
A typical residential AC installation in Coral Springs depends on system size, efficiency, and whether the ductwork needs work, so pricing is set per job by a written estimate rather than a flat rate. We give you a clear fixed price before any work begins. Call (833) 501-2993 for a free estimate.
Schedule the first professional tune-up around the 12-month mark, and preferably before the hottest stretch of the year. The 30-day and 6-month checks are tasks you can handle yourself: filters, visual checks, and notes on anything that changed. A tune-up at a year lets a technician re-check the charge and drain against the install readings while the system is fully broken in.
It usually underperforms because of what wasn’t verified at install, not because of the equipment. The most common culprits are a refrigerant charge left at the factory default, a condensate drain with too little slope for the rainy season, and airflow that was never balanced across the rooms. None of these is a defect in the unit; they’re install steps that got skipped.
Florida building code generally expects a secondary drain pan or equivalent protection under the air handler so overflow doesn’t damage the home, and most system replacements require a permit and inspection that covers it. Confirm the requirement with your city’s building department for your specific setup. A pan that’s installed but never drained or alarmed only catches water after the fact, so ask how yours is set to handle a clog.
Yes. We’re certified to work on nine major HVAC brands, including Rheem, York, Daikin, and Bryant, and we don’t have a dealer relationship with any one of them. That means our recommendation is driven by your home and budget, not a manufacturer program. If you’re not sure what you have, we can identify it from the nameplate.
That answer depends on the age of the equipment, the cost of the repair against a replacement, and how well the system is serving your home. We give a straight cost-benefit answer rather than defaulting to whichever option we’d prefer to sell. If you’re facing a major repair, call (833) 501-2993 and we’ll walk through both paths with you.
The Bottom Line
A new air conditioner is only as good as the installation behind it. In Coral Springs, the steps that get skipped matter: refrigerant charge verified at local temperatures, a condensate drain built for the rainy season, and airflow balanced room by room. Do the 30-day, 6-month, and 12-month checks yourself, keep every model number, reading, and photo in one folder, and hand it to whoever works on the system next. That’s the difference between a unit that runs well for years and one that calls you back. If something feels off, get it looked at while the install is still fresh and the warranty still has room to work. One call covers your AC and your furnace with Clover AC Repair, whether you’re in Coral Springs or nearby, and our technicians have up to 13 years of experience across the brands homeowners actually own.
Written by the team at Clover AC Repair.
See the difference
 Before
 After
 Before
 After
 Before
 After