
Last updated November 15, 2026
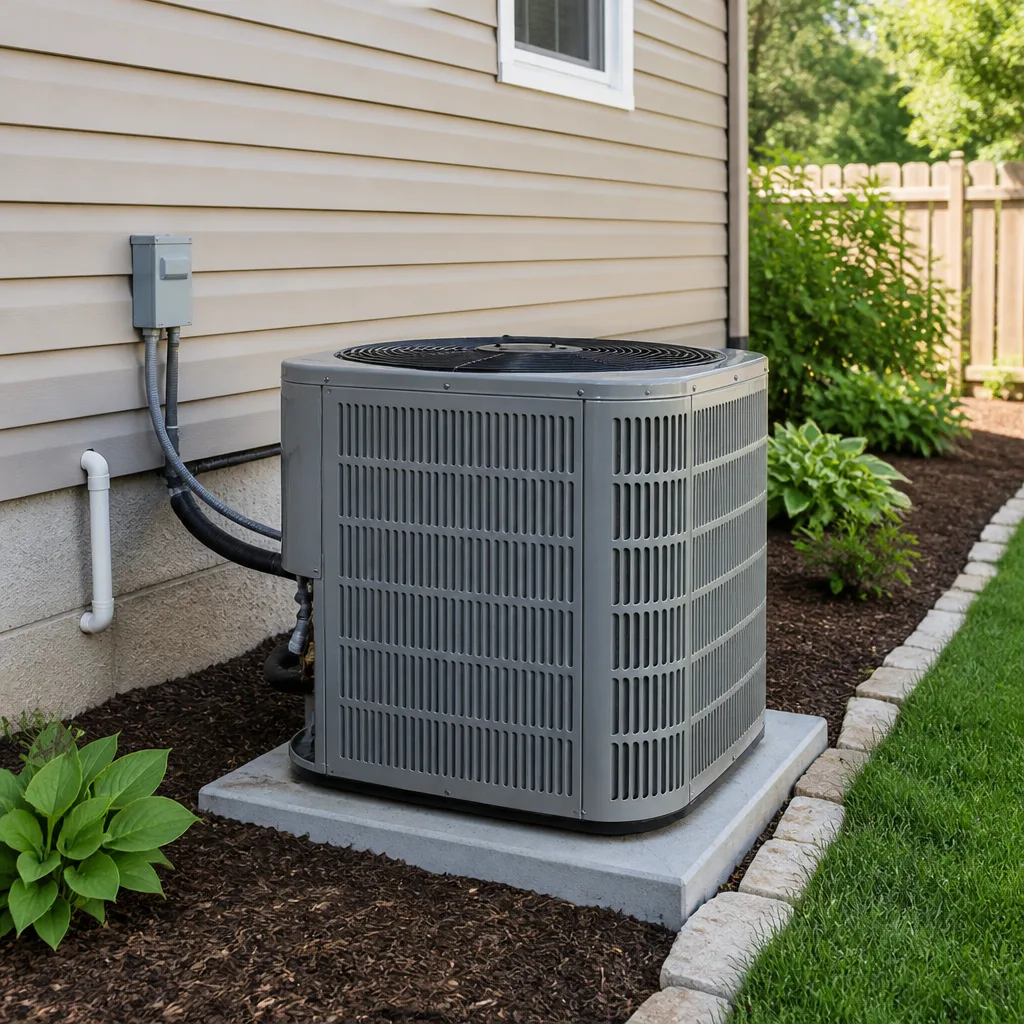 AC repair
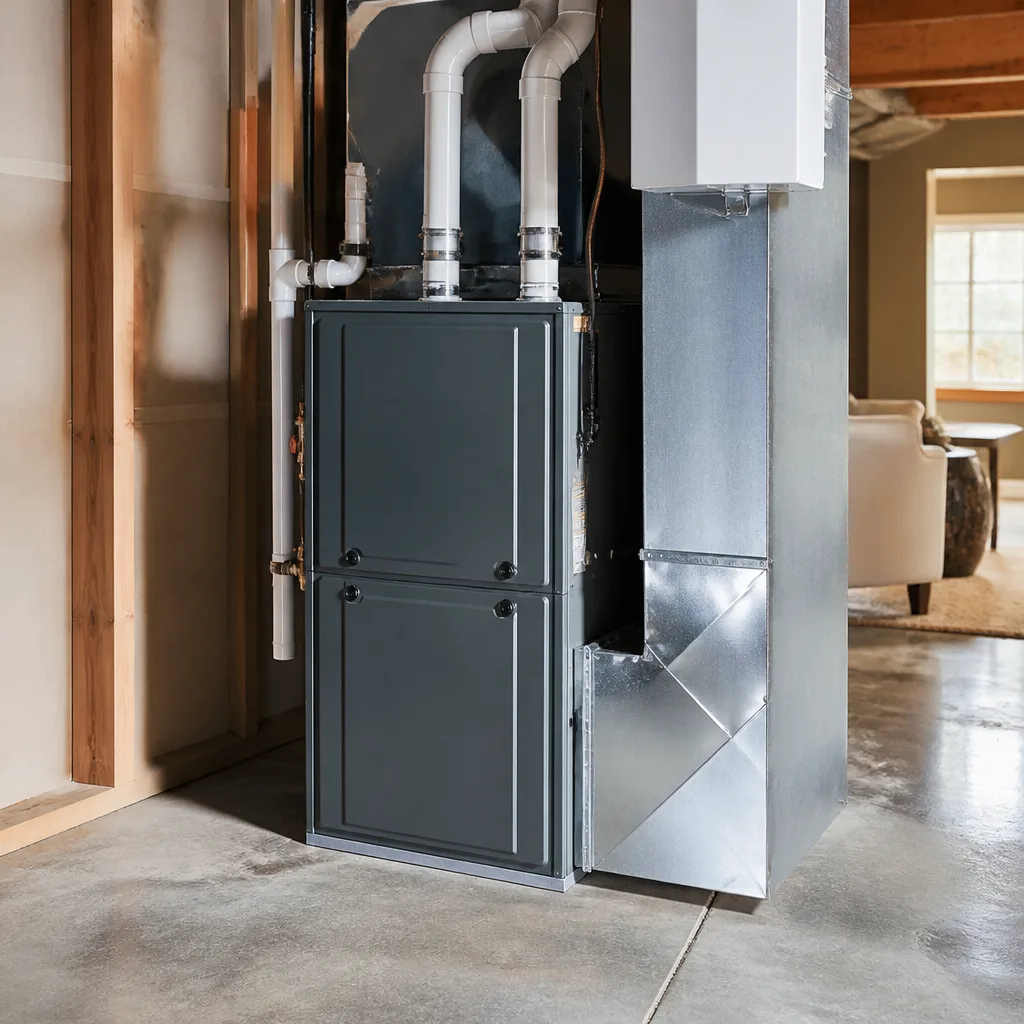 Furnace & heating
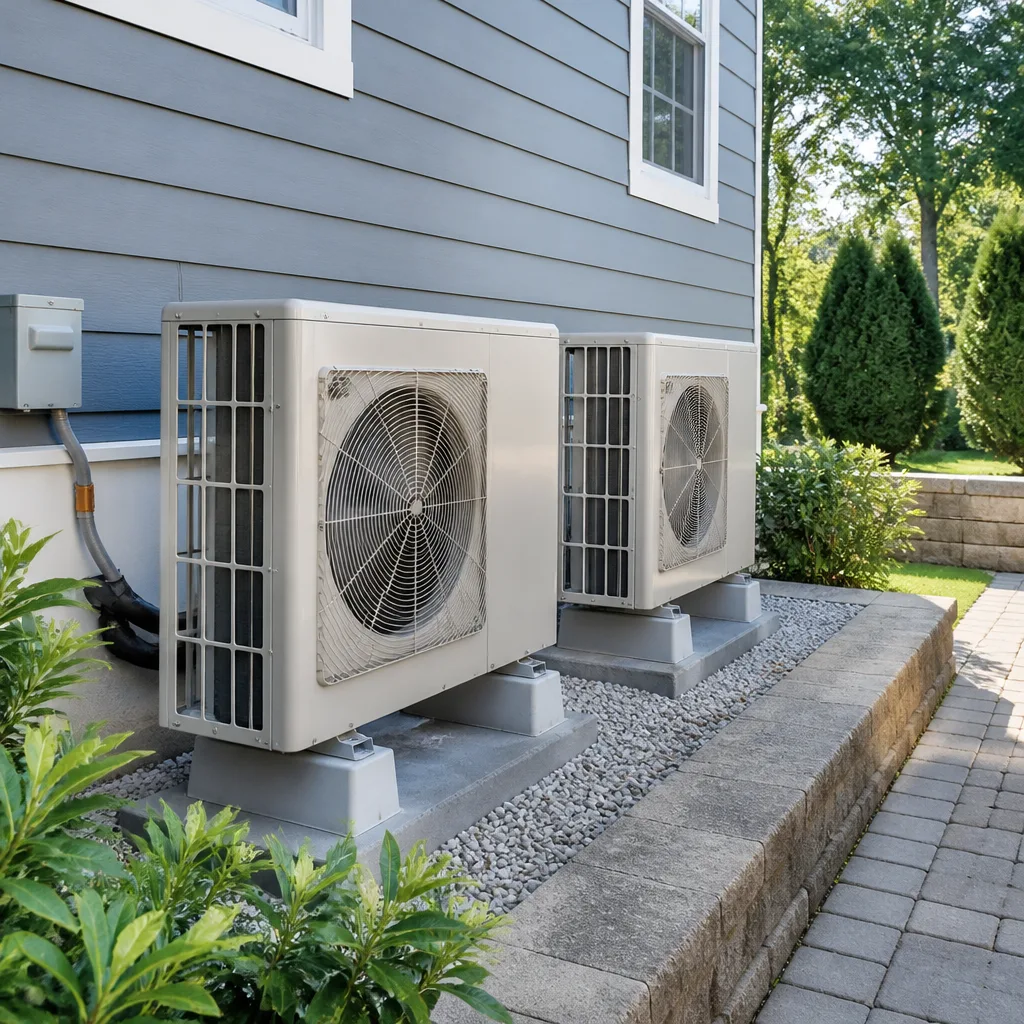 Heat pumps
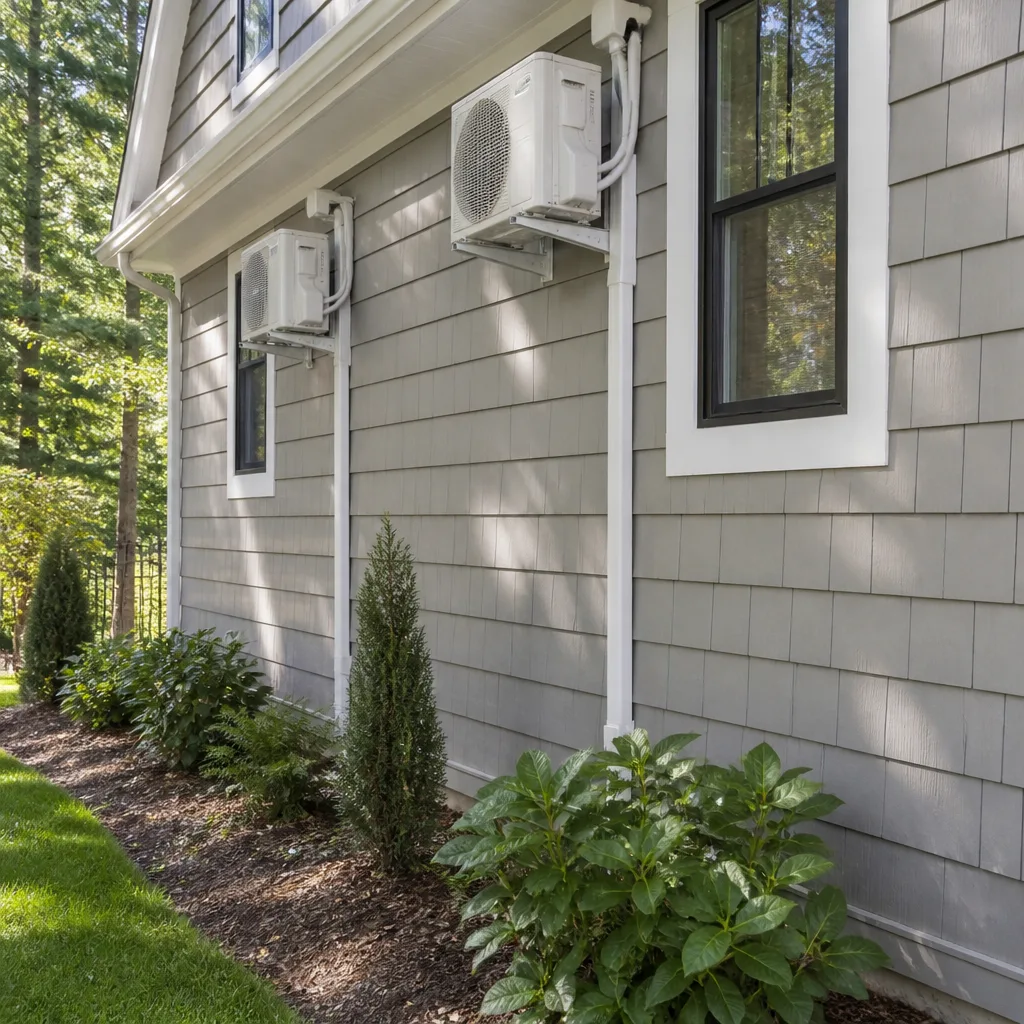 Ductless mini splits
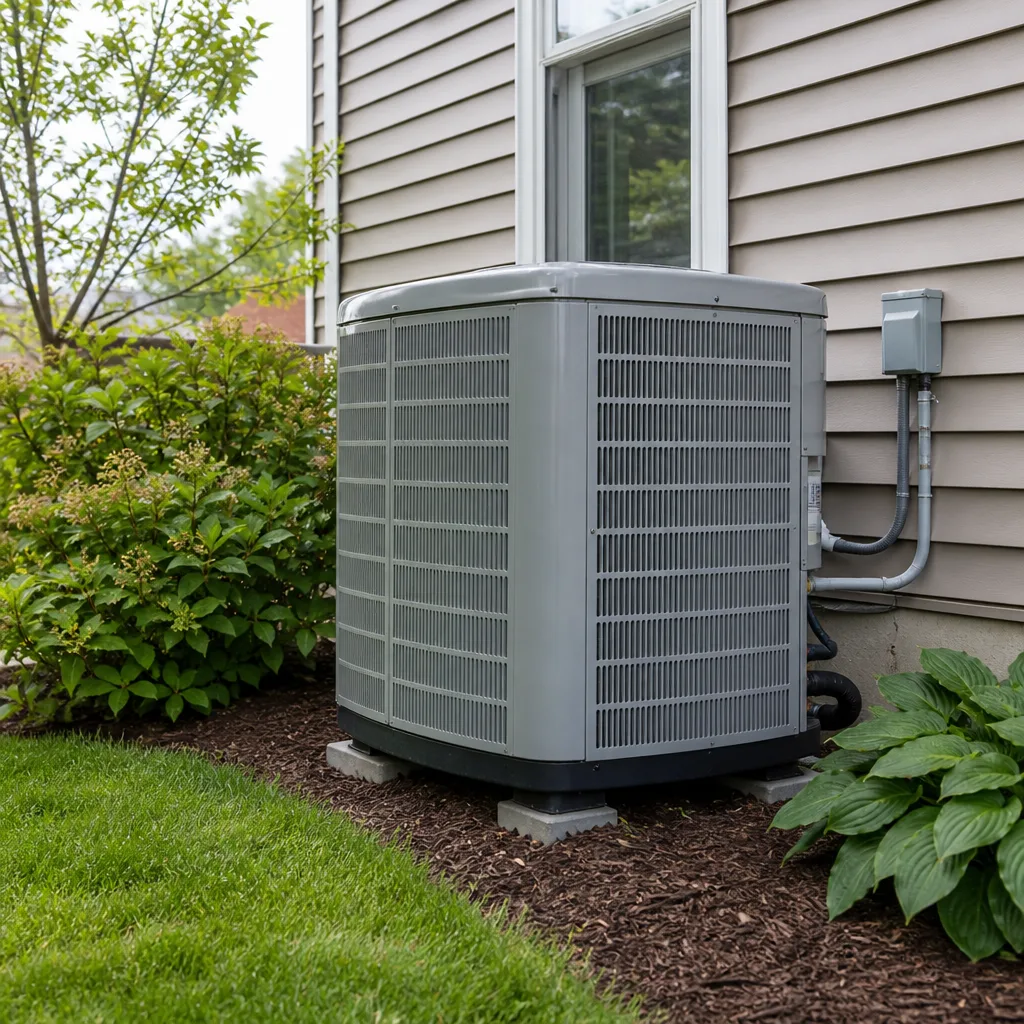 Carrier
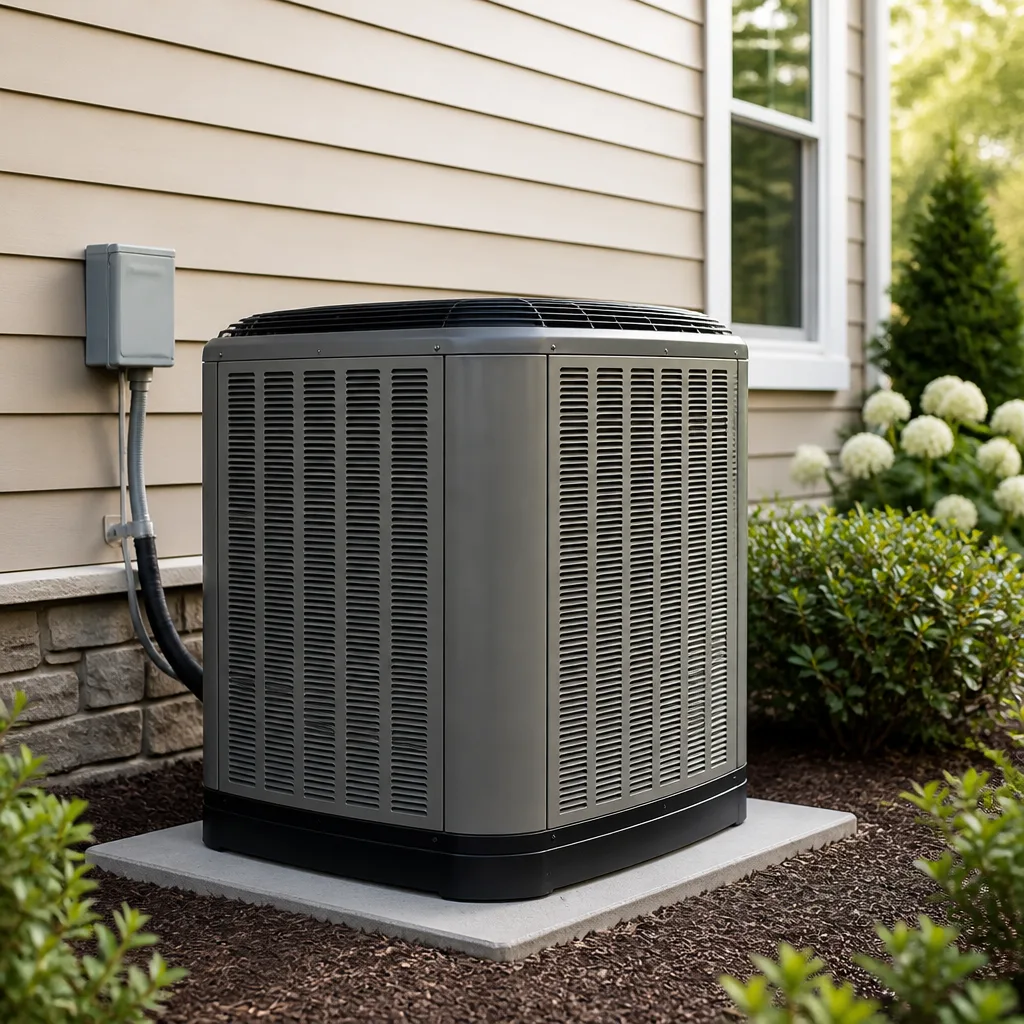 Trane
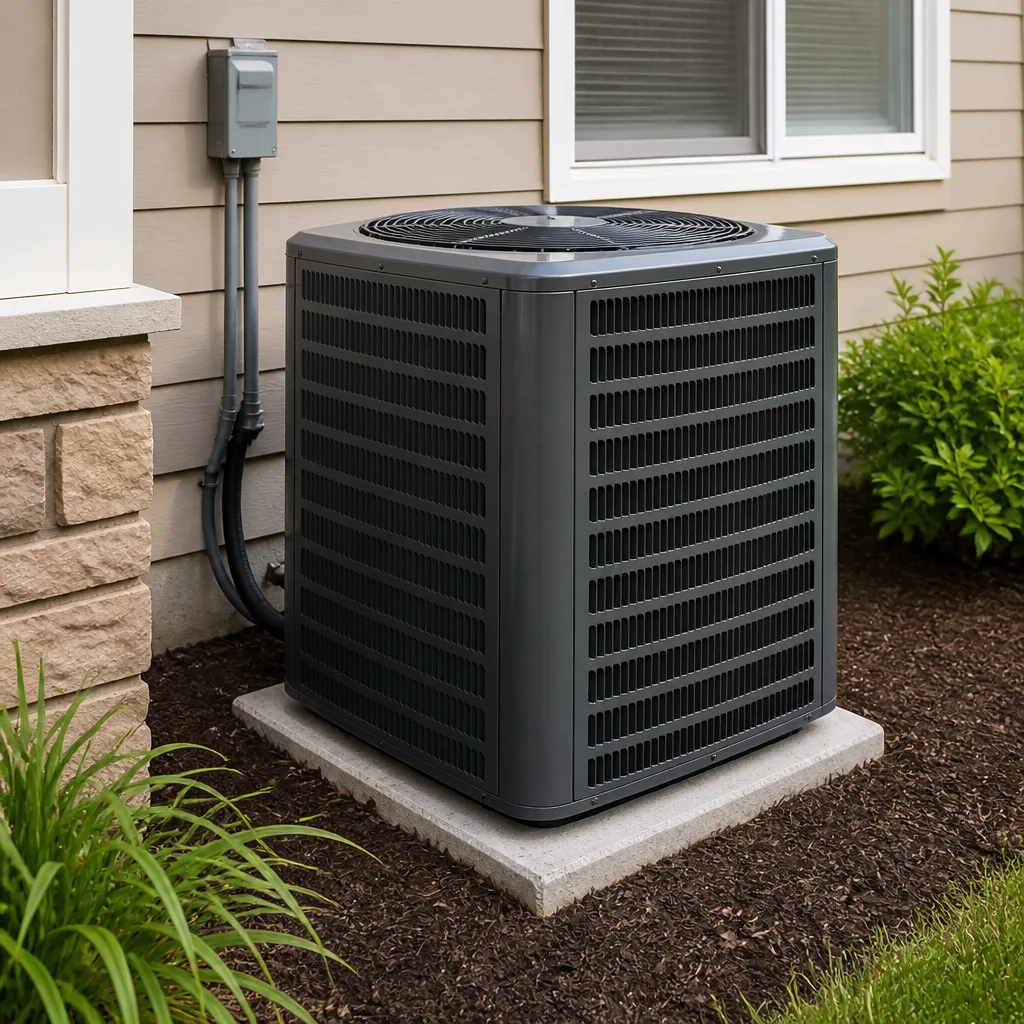 Goodman
Seasonal tune-up and full diagnostic on your Carrier, Trane, or Goodman system - readings shown to you before any repair is proposed
Diagnosis first, numbers second - you approve the repair price before a single part goes in.
Get your free estimateAC Installation Troubleshooting in Coral Springs: Common Problems and How to Fix Them
If your brand-new AC system isn’t cooling your house the way the sales pitch promised, the unit itself is almost never the culprit. The odds-on favorite is an installer mistake: a refrigerant charge that’s off by ounces instead of pounds, a line set pitched the wrong way, or ductwork quietly leaking conditioned air into the attic before it ever reaches a bedroom. These problems don’t announce themselves with a bang. They show up as electric bills that creep upward, one room that never quite cools, and a compressor that quits years before it should. This guide teaches you how to read those symptoms in Coral Springs, tell the difference between a fixable install flaw and a system that was never sized right, and know exactly when to hold your installer accountable.
Quick Answer
Most AC installation problems in Coral Springs trace back to installation errors rather than faulty equipment: incorrect refrigerant charge, poor line set pitch, leaking or undersized ductwork, and mismatched airflow settings. You can catch most of them yourself within the first cooling season by comparing electric bills month over month, mapping room temperatures with a thermometer, and reviewing your warranty paperwork before the first-year grace period closes. If you spot the symptoms, get a second opinion from a technician who works on your brand, not the dealer who sold it to you.
Styles & brands we work with
- AC repair
- Furnace & heating
- Heat pumps
- Ductless mini splits
- Carrier
- Trane
- Goodman
Table of Contents
- Start With the Simple Checks First
- How to Read Your First Three Electric Bills After Installation
- Refrigerant Charge: The Silent Compressor Killer
- Room-by-Room Temperature Mapping: The Weekend Test
- Improper Line Set Pitch and Why It Shortens Compressor Life
- Condensate Drain Problems: Installation Error vs. Coral Springs Humidity
- Ductwork Leaks and Sizing Problems
- Warranty Documentation: What You Need Before the Grace Period Closes
Start With the Simple Checks First
Before you assume the worst about your installation, rule out the problems that have nothing to do with workmanship. A thermostat set to “fan on” instead of “auto,” a clogged filter, or a return register blocked by furniture will mimic every symptom of a bad install. Spend fifteen minutes on the basics, because they’re free and they eliminate most false alarms.
- Check the filter. A clogged filter chokes airflow and makes every room feel warm. Replace it or clean it, then give the system an hour to recover.
- Confirm thermostat mode and setpoint. Make sure it’s set to “cool” and the fan is on “auto.” In “on” mode the fan runs constantly and can feel like poor cooling on mild days.
- Look at the outdoor unit. The condenser needs clear space around it. Shrubs, fencing, or stored items packed against the coil cut its ability to reject heat, and Coral Springs yards grow fast in summer.
- Check every supply register. Confirm each vent is open and not blocked by a rug, curtain, or piece of furniture. Closed vents in unused rooms create pressure problems that affect the whole system.
- Reset nothing yet. Don’t start flipping breakers or reprogramming the thermostat. Note the symptoms first so a technician has real information to work with.
If the system passes all five checks and still isn’t cooling evenly or running longer than it should, you’re likely looking at an installation issue. That’s where the real diagnostic work begins. When you’re ready to bring someone in, we handle AC installation and the follow-up troubleshooting that usually comes with it, and we work on whatever brand you already have in the house.
How to Read Your First Three Electric Bills After Installation
Your electric bill is the cheapest diagnostic tool you own. A correctly installed AC system runs in predictable cycles: long enough to pull the humidity down, then off. A system with an improper refrigerant charge, undersized ductwork, or a mismatched blower setting runs longer and harder for the same comfort, and that shows up as a bill that climbs while the weather doesn’t change. Comparing your first three bills after installation isn’t about the total dollar amount, it’s about the pattern.
Here’s how to read it:
- Bill one: Your baseline. The first full month of cooling tells you what the system does when everything is new and the house is still adjusting to a new schedule of operation.
- Bill two: Compare it against bill one at the same outdoor temperature. A modest seasonal change in Coral Springs summer heat is normal. A jump of a third or more at similar weather is not.
- Bill three: The trend line. If the third bill is higher than the first two at comparable weather, something is degrading. That something is usually airflow or refrigerant charge.
Why does charge matter so much? An undercharged system works harder to reach setpoint, and the compressor runs hotter. An overcharged system is worse in some ways, because liquid refrigerant can find its way back to the compressor and shorten its life. Both conditions show up first as runtime creep and a higher bill, long before they show up as a breakdown. If your bills are climbing and the outdoor temperature isn’t, get a technician to check the charge and airflow before you write it off as “just summer in Florida.”
One more pattern to watch: a bill that spikes in the shoulder months, when the system is running less. That usually points to a control issue or a thermostat that was wired wrong during installation. It’s an easy thing to overlook, and an easy thing to fix.
Refrigerant Charge: The Silent Compressor Killer
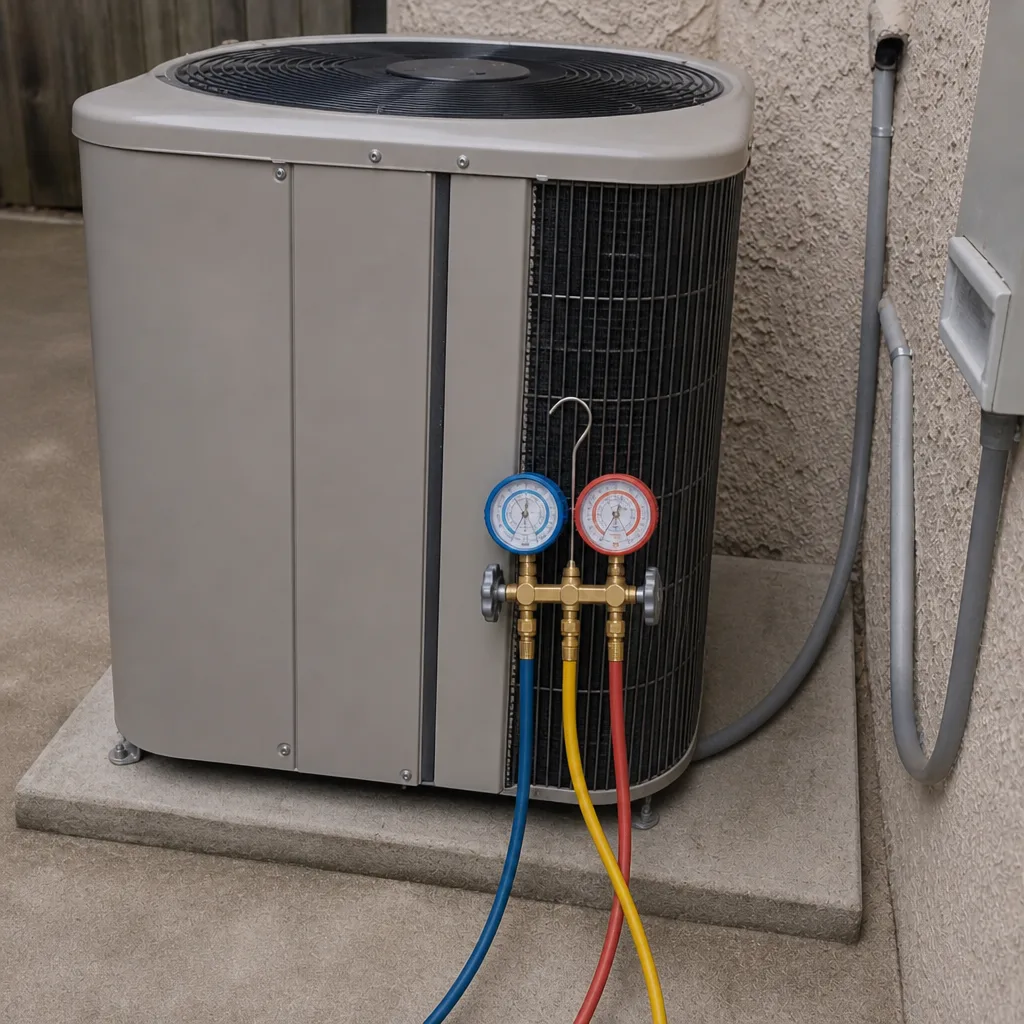
Refrigerant charge is the amount of refrigerant in the system, measured in weight. It’s set during installation and should stay put unless there’s a leak. When a system is commissioned, the technician weighs in the charge called for by the manufacturer or measures it with a set of gauges and a temperature reading. Skip that step, or guess at it, and the system runs slightly off from day one. You won’t hear anything wrong. You’ll just notice the house takes longer to cool, the outdoor unit runs almost without pause, and the electric bill drifts.
A system that’s low on charge from installation (either undercharged or never fully charged after the line set was connected) tends to show these signs:
- The house cools slowly in the afternoon heat and feels fine by evening
- The outdoor unit runs much longer than the indoor temperature calls for
- Air from the registers is cool but never cold
- The suction line outside (the larger insulated pipe) feels cool rather than cold and sweating
- Bills climb month over month without a matching change in weather
The dangerous part is the compressor. Undercharge means less refrigerant mass returning to cool the compressor, so it runs hotter. Overcharge does the opposite and can push liquid refrigerant into the compressor. Either way, the compressor is the most expensive component in the system, and it’s the one an improper charge punishes first.
This is not a DIY fix. Refrigerant handling requires recovery equipment, gauges, and training, and doing it wrong can release refrigerant into the air or damage the system. If your bills and symptoms point to a charge problem, get a technician to verify it with proper instruments. Ask specifically whether they weighed it in or measured superheat and subcooling. A tech who can explain that clearly knows what they’re doing.
Room-by-Room Temperature Mapping: The Weekend Test
You can find out more about your installation in one weekend than a service call will tell you in five minutes. Temperature mapping is exactly what it sounds like: measure the air temperature in each room and compare the numbers. All you need is a basic digital thermometer (the inexpensive kind works fine) and a notebook. A laser thermometer aimed at a supply register is even quicker, but a simple room thermometer left in place for ten minutes is more accurate for room conditions.
Here’s how to run it:
- Pick a hot afternoon. Mid-afternoon is when the system works hardest and uneven cooling is most obvious.
- Close the house up. Windows and doors closed, blinds where you normally keep them.
- Let the system run for at least an hour at a steady setpoint. Don’t adjust the thermostat during the test.
- Measure each room. Put the thermometer at chest height, away from supply registers and direct sun, and leave it for ten minutes.
- Measure the return air. This gives you the system’s baseline intake temperature.
- Write it all down. Room, temperature, and time. Do this on two different afternoons to rule out a fluke.
What are you looking for? Most importantly, a spread. If every room is within a couple of degrees, your system is delivering reasonably evenly. If one room runs noticeably warmer than the rest, you’ve found a duct problem, a balancing problem, or a room that was simply never sized correctly. A room that’s several degrees warmer than the return temperature after a full hour of cooling is not going to fix itself.
The pattern of the spread matters as much as the size. A single warm room at the far end of the house points to a long duct run that’s leaking or undersized. Warm upstairs rooms and cool downstairs rooms, or the reverse, point to a zoning or balancing issue. A whole side of the house that’s warm points to a duct that’s come apart in the attic. Write down the pattern, not just the numbers, because a technician can diagnose much faster with a map in hand.
Improper Line Set Pitch and Why It Shortens Compressor Life
The line set is the pair of copper pipes running between your indoor air handler and outdoor condenser. One carries high-pressure liquid refrigerant, the other carries low-pressure suction gas. The manufacturer specifies the correct pitch (the slight downward slope) for the suction line so that oil used to lubricate the compressor circulates back to it. When that line is pitched the wrong way, or runs uphill in the wrong direction, oil pools in the low spots and the compressor runs without enough lubrication.
You can sometimes spot a line set problem from outside the house, without opening anything up:
- Low spots in the run. Look along the pipe where it exits the wall and runs to the condenser. A visible dip or sag in the line is a warning sign.
- Excess length. A line set that runs much farther than designed and isn’t pitched correctly increases the chance of oil pooling.
- Insulation damage. The suction line should be insulated all the way to the condenser. Bare copper in the middle of a run is a sign someone was in a hurry.
- Sharp bends and kinks. A line bent too sharply reduces flow and creates a low point where oil can settle.
Oil pooling doesn’t cause an immediate failure. That’s what makes it dangerous. It shortens compressor life slowly, over several cooling seasons. The compressor pulls more current, runs hotter, and eventually fails, and by the time it does, the “installation defect” is hard to prove to anyone who wasn’t there. If you see a visibly sagging or improperly routed line set on a new install, have it evaluated now, not after the compressor fails.
Line set problems often show up as a compressor that wakes up noisy or struggles to start on a hot afternoon, then behaves fine once it’s running. If you’re hearing odd sounds, our Clover AC Repair team can take a look and tell you whether it’s the line set or something else. We work on Trane, Lennox, Goodman, and Rheem systems, plus five other major brands.
Condensate Drain Problems: Installation Error vs. Coral Springs Humidity
Coral Springs runs humid. An AC system here pulls a lot of water out of the air, and the condensate drain takes it away. When you get water on the floor or a drain pan that keeps filling, the natural instinct is to blame the humidity. Most of the time, that’s wrong. The system is designed to handle local humidity, and it handles it fine when the drain is installed correctly. When it doesn’t, it’s usually an installation issue.
The installation-related causes of condensate problems:
- Improper pitch on the drain line. The drain must slope downward continuously from the drain pan to the exit. A flat or uphill section traps water, and the pan overflows.
- Missing or incorrect trap. Many drain installations need a proper trap to work correctly. If the trap is missing or installed backward, the drain can’t flow.
- Vent issues. Drain lines need to be vented correctly, or they can air-lock and stop draining, especially when the system runs a long cycle in humid weather.
- Poor pan installation. A pan installed without the correct slope will pool water in the corner and grow algae faster than a properly set pan.
The reason this matters for homeowners: if you call a tech who blames the humidity and clears the line, the problem comes back within weeks. If the line keeps clogging at the same spot, look at the installation. The fix is usually minor, but it has to address the actual cause, or you’ll pay for the same call every cooling season.
A secondary sign of a bad drain install is a drain line that clogs faster than the others should. Algae growth in a drain line is normal in Florida, but if one section clogs repeatedly while the rest stays clear, the pitch in that section is probably wrong. That’s a diagnostic fact worth knowing before you call anyone.
Ductwork Leaks and Sizing Problems
Ductwork is the most overlooked part of a new AC installation, and in Coral Springs homes it’s often the biggest source of problems. The indoor unit can be sized perfectly and charged to the ounce, and if the ducts leak or are too small for the room, the house won’t cool right. On top of that, a duct leak pushes conditioned air into the attic, which does nothing for your comfort and plenty for your electric bill.
Most duct problems fall into a few categories:
- Loose joints. Ducts installed without proper sealing leak at every connection. A visual inspection in the attic often finds obvious gaps.
- Undersized runs. A duct that’s too small for its room chokes airflow. That room never gets enough cool air even when the system is running at full capacity.
- Crushed or kinked flex duct. Flexible duct is easily crushed during installation, and a crushed duct moves far less air than its size says it should.
- Disconnected sections. A duct run that’s separated from the main trunk at a joint is dumping that air into the attic instead of the room. This one is common enough to be worth checking on any new install.
- Improper return sizing. An undersized return air duct starves the whole system. It can’t move enough air to distribute cooling properly, no matter how big the supply ducts are.
Temperature mapping (covered above) is the best way to spot duct problems without climbing into the attic. If you want a technician to do a proper inspection, ask specifically about static pressure and duct sizing. A tech who can’t talk about static pressure isn’t doing duct diagnostics, they’re guessing.
The return air side is the part homeowners miss. It’s the intake, and if it’s undersized or partially collapsed, everything downstream struggles. It’s worth asking about during any installation walk-through.
Warranty Documentation: What You Need Before the Grace Period Closes
Manufacturer warranties on new AC equipment usually come with conditions. Some require registration within a set time after installation. Some require specified installation practices. Failure to follow them can void coverage on parts, or on the compressor, or on the whole unit. The window for catching problems is short, and it’s worth understanding which installation defects get you into trouble with the manufacturer.
The installation defects that most commonly void manufacturer warranties:
- Improper refrigerant charge or a system operated while undercharged. Manufacturers can point to charge records to deny a compressor claim.
- Incorrect line set installation. If the line set isn’t installed to specs, oil starvation is an easy out for the manufacturer.
- Mismatched indoor and outdoor equipment. A system that wasn’t matched to the manufacturer’s combination list can void the warranty entirely.
- Failure to register the equipment. Many manufacturers require registration within a limited window to keep the full term, so read the registration paperwork carefully.
- DIY electrical or refrigerant work. Anything outside permitted installer practice can deny a claim, even if the problem wasn’t caused by the DIY work.
What paper trail do you need? Keep the invoice and the equipment model numbers, the installation date, the commissioning record showing the charge was verified, and anything the installer gives you about registration. Ask for a copy of the start-up documentation at the time of install. If the installer can’t produce it later, you want it in hand. When the first-year grace period is closing, review the paperwork and make sure the installation matches what the manufacturer required. If anything is missing, ask the installer to correct it before it becomes a warranty claim.
One more document: any permit or inspection record from your city’s building department. Some cities require permits for AC replacement, and an installation that skipped permitting can complicate a future warranty claim. If you’re unsure, our team can help you sort out the paperwork you should have, and we’re happy to work with you on your system regardless of brand. Our technicians have up to 13 years of experience and see a lot of Trane, Lennox, Goodman, and Rheem installs each season.
Common Mistakes to Avoid
- Waiting until the bill doubles to call. A charge problem that shows up as a small bill increase in the first cooling season becomes a failed compressor in a couple of years. Catch the pattern early.
- Blaming humidity for a water leak. Coral Springs humidity is a factor, but a properly installed condensate drain handles it. If you get water on the floor, look at the install, not the weather.
- Calling the installer who did the original work and accepting “it’s fine.” The tech who made the mistake may not spot it a second time. A second opinion is free and costs you nothing but a phone call.
- Skipping the temperature mapping. Ten minutes with a thermometer on a hot afternoon is worth more than an hour on the phone with a warranty department.
- Not asking for installation documentation. If you don’t have the commissioning record and the registration confirmation in hand, you can’t enforce a warranty when you need it.
- Assuming a new system is automatically sized right. A unit that’s oversized for the house cools fast but doesn’t run long enough to remove humidity, which matters a lot in Coral Springs. Undersized does the opposite. Sizing matters as much as brand.
- Trusting a “no charge” or “system is fine” from a dealer with an incentive to avoid a callback. Get an independent second opinion on any new install that doesn’t feel right.
See the difference
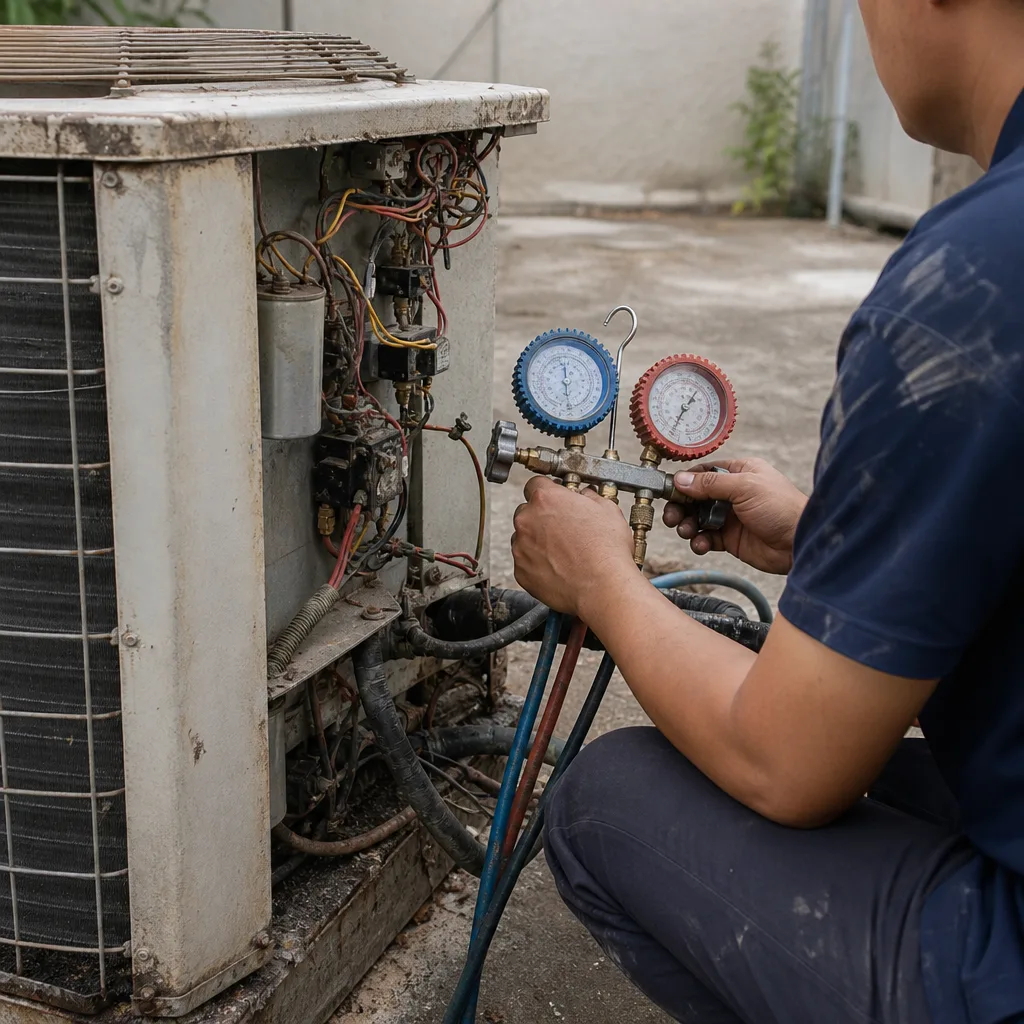 Before
 After
 Before
 After
 Before
 After
When to Call a Professional
Some of the checks in this guide are genuinely useful homeowner-level diagnostics. Others cross into territory where a trained technician is the right call. Call a professional if you have water on the floor that comes back after the drain is cleared; if your electric bill trends up across two or three bills at similar weather; if temperature mapping shows a room that runs several degrees warmer than the return; if you see an obvious sag or kink in the outdoor line set; or if anything about the compressor sounds wrong (hard starts, grinding, or silence on a hot afternoon). Refrigerant work, electrical, and duct diagnosis all require equipment and training beyond what’s safe to attempt yourself. If a system is a year old and doesn’t cool the way it should, a proper evaluation is the right move. Clover AC Repair offers free estimates in Coral Springs, and we work on your brand, whatever it is. Call (833) 501-2993. We answer 24/7. Fast dispatch from 7am to 7pm, Sunday through Friday.
Frequently Asked Questions
The clearest signs are an electric bill that climbs over the first three cooling months without a matching weather change, one or more rooms that stay noticeably warmer than the return air, water pooling in the drain pan after the drain was cleared, and a line set that visibly sags outside the house. Each of these points to an installation detail rather than a faulty unit. If you spot two or more, call (833) 501-2993. Estimates are free.
A system that runs constantly without reaching setpoint is usually struggling with refrigerant charge, airflow, or both. Check the filter first, then look at whether the outdoor unit is clear of obstructions. If the filter is clean and the unit is running for hours without pulling the temperature down, the charge or the ductwork is the likely cause. A technician can verify charge with gauges and static pressure with a manometer, and both are quick checks.
An installation problem shows up as a pattern over weeks and months, not a single failure. Broken equipment is a sudden change: the system stops running, trips a breaker, or blows warm air from nowhere. Installation problems are slower: rising bills, uneven cooling, water where it shouldn’t be. If the system is brand new and never worked quite right, that’s an installation problem, not a breakdown. Call (833) 501-2993 for a second opinion.
Yes, in some cases. Improper refrigerant charge, incorrect line set installation, mismatched indoor and outdoor equipment, and failure to register the equipment can all become grounds for a denied claim. The paperwork matters. Keep the invoice, the commissioning record, the equipment model numbers, and the registration confirmation. If the installer can’t produce a commissioning record, ask for it in writing. Getting it now is cheaper than arguing later.
You can spot the symptoms without opening the ducts. Temperature mapping is the homeowner-level tool: if one room runs several degrees warmer than the return after an hour of steady cooling, the duct feeding that room is a likely culprit. You can also look in the attic for visible gaps, crushed flex runs, or sections that have come apart at a joint. A full duct inspection with pressure testing requires a technician.
Yes, if your bills are climbing or a room won’t cool and the installer says everything is fine. The technician who made the mistake often misses it on a follow-up visit. A second opinion from someone who works on your brand is free or cheap, and it gives you a clear answer before the first-year grace period closes. Call (833) 501-2993 for an honest look.
The Bottom Line
Most new-AC problems in Coral Springs aren’t equipment failures. They’re installation errors that reveal themselves slowly through electric bills, room temperatures, and small water leaks. If you learn to read those signals, you can catch the problem before it shortens your compressor’s life or voids your manufacturer warranty. Start with the simple checks. Map your room temperatures on a hot afternoon. Compare your first three bills. And if something doesn’t feel right, get a second opinion from a brand-neutral technician, not the dealer who sold the install. We at Clover AC Repair work on your brand, whatever it is, and we’ll tell you whether a repair or a replacement actually makes sense. Call (833) 501-2993 for a free estimate. We answer 24/7, with fast dispatch from 7am to 7pm, Sunday through Friday. For the wider view of our services in Coral Springs, our AC installation and furnace repair pages cover the details.
Written by the team at Clover AC Repair.